2026 Top Sliding Glass Door Installation Types Guide

Choosing the right sliding glass door is not only a design decision. It affects daylight, airflow, security, comfort, and long-term maintenance. This 2026 guide examines the main sliding glass door installation types for homes, apartments, renovations, and new construction. Each method responds differently to wall structure, drainage, weather exposure, and available space.

The U.S. Department of Energy reports that windows can account for 25% to 30% of residential heating and cooling energy use. Glass doors are not identical to windows, but they face similar heat-transfer challenges. That makes frame quality, glass selection, seals, and installation accuracy important. ENERGY STAR’s Residential Windows, Doors, and Skylights specification also evaluates U-factor and solar heat gain coefficient by climate zone. These metrics help compare products beyond appearance. The National Fenestration Rating Council supports this process through independent product performance labels and certification programs.

This guide compares replacement, new-construction, pocket, surface-mounted, and retrofit installation approaches. It considers sill pans, shims, flashing, fasteners, frame alignment, and water testing. A door should slide smoothly, without scraping or sudden resistance. Small gaps around the frame can later become drafts, leaks, or condensation points. Real job sites are rarely perfect. Existing walls may be uneven, and older homes may hide moisture damage. No single installation type wins every project. A neat specification can still fail when the opening is poorly prepared. Local building requirements and manufacturer instructions must guide the final decision. The data provides direction, not certainty. Careful measurement remains essential.
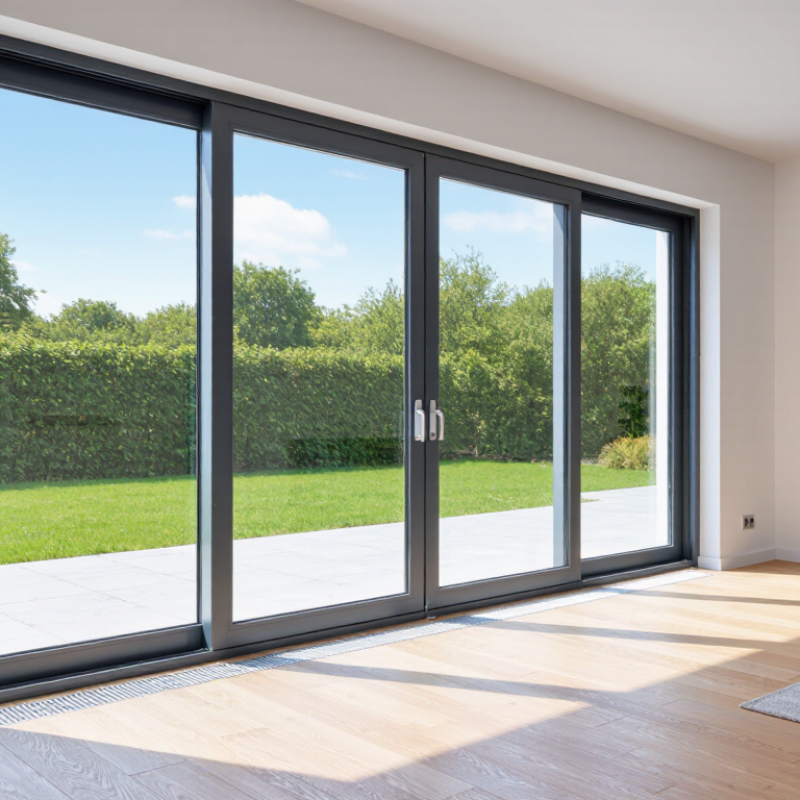
2026 Top Sliding Glass Door Installation Types Guide

Classify 2026 Sliding Door Types: 2-Panel, 3-Panel, Stacking, and Pocket

Sliding glass doors in 2026 are easier to classify when panel movement is considered first. A 2-panel system usually has one fixed panel and one sliding panel. It suits compact openings and keeps the operation simple. A 3-panel system adds more glass and often creates a wider walking clearance. However, the center panel may require stronger rollers and careful alignment.

Stacking doors move panels behind one another, making large openings feel open without needing a deep wall pocket. They work well for patios, dining areas, and rooms facing gardens. Pocket doors slide into a concealed wall cavity. They create the cleanest opening, but installation can become complicated around wiring, plumbing, insulation, and structural supports. A professional installer should inspect the wall before any cutting begins. In real projects, a beautiful layout can still fail when drainage or floor level is ignored. That detail deserves more attention.

Tips: Measure the finished opening, not only the rough frame. Check floor slopes with a level. Leave clearance for handles and screens. Ask about roller adjustment and glass replacement access. Test each panel slowly before final sealing. Small errors become obvious later.

Compare New-Construction, Replacement, and Retrofit Installation Methods

For the 2026 top sliding glass door installation guide, method choice depends on the wall condition and project stage. A new-construction installation happens before interior finishes are completed. The installer can inspect framing, apply flashing, and build a complete sill pan. This creates a strong defense against wind-driven rain. A square opening matters. Even small framing errors can affect smooth door movement.

Replacement installation begins by removing the existing door and frame. Measurements must include width, height, depth, and diagonal alignment. A professional should check hidden rot, damaged sheathing, and moisture near the sill. If rot appears, repairs should happen before the new unit arrives. Replacement work usually preserves the original opening, but old houses rarely measure perfectly. Not always simple.

Retrofit installation places a new door inside the existing frame. It often reduces demolition, dust, and finishing work. This method suits sound frames with adequate depth and reliable drainage. However, the finished opening may become slightly narrower. The existing sill must also shed water correctly. Qualified installers should verify fastener locations and confirm the frame is plumb. One honest limitation remains. I once underestimated a threshold height during planning, and the interior floor needed adjustment. Careful site measurements prevent that costly surprise.

Set Energy Targets with NFRC U-Factor ≤0.30 and Climate-Based SHGC

2026 Top Sliding Glass Door Installation Types Guide

Set an energy target before choosing a sliding glass door installation type. For most projects, specify an NFRC-rated U-factor of 0.30 or lower. U-factor measures heat transfer, so a lower value usually improves winter comfort. However, the frame, glass, spacer, and installation quality all affect real performance.

Climate-based SHGC needs equal attention. In colder regions, a moderately higher SHGC can admit helpful winter sunlight. In hot climates, a lower SHGC can reduce cooling loads and glare. Orientation changes the decision. A south-facing door may need different glass from a shaded, north-facing opening. Local energy codes and a building professional should confirm the final range.

Full-frame replacement works well when the existing frame is damaged or poorly insulated. Pocket replacement can preserve interior finishes, but it may hide air leaks around the old frame. New-construction installation allows better sill-pan integration and perimeter sealing. On site, check the rough opening, sill slope, drainage path, and door plumb. Small errors matter. A low U-factor cannot rescue a leaking sill.

I have seen beautifully rated doors perform poorly after rushed installation. That is an uncomfortable reminder. Ask for the NFRC label, installation instructions, and documented air-sealing steps. Also inspect the meeting rails and weatherstripping after operation. The target is useful, but the details remain imperfect.

2026 Top Sliding Glass Door Installation Types Guide

Set Energy Targets with NFRC U-Factor ≤0.30 and Climate-Based SHGC

Use an NFRC-rated sliding glass door with a target U-factor of 0.30 or lower. Select the SHGC according to climate: lower values reduce solar heat gain in cooling-dominated regions, while higher values can support passive solar heating in colder regions.

The chart presents practical design targets for common U.S. climate conditions. Confirm the final product rating and local energy-code requirements before installation.

Specify Safety Glazing Under ANSI Z97.1 and CPSC 16 CFR 1201

For a 2026 sliding glass door project, installation type matters, but glazing safety comes first. Bypass, pocket, and corner systems can all contain hazardous glass locations.

Specify safety glazing that complies with ANSI Z97.1 and CPSC 16 CFR 1201. These standards address impact performance, human contact, and product classification. The required category depends on the door design, glass size, and nearby walking surfaces. Local building codes may add stricter requirements.

Use qualified safety glass.

Tempered and laminated glass may qualify, but ordinary annealed glass does not meet safety glazing requirements. Do not assume a thicker pane is safer. Thickness alone proves little. Check the permanent safety mark, test designation, and supporting manufacturer documentation before installation.

A practical site review should measure the panel edges, adjacent sidelites, and the distance to floors or steps. Sliding doors often create wide, uninterrupted glass areas. People can miss them in bright reflections or low evening light. Clear markings at eye level can help, although markings are not a substitute for compliant glazing.

Installers should verify the certificate against the actual glass delivered. A drawing may specify safety glass, while a replacement pane arrives without the correct classification. That mistake is easy to overlook. Record the glass type, thickness, location, and inspection date. When uncertain, ask the building official or a qualified glazing professional before the frame is sealed.

2026 Top Sliding Glass Door Installation Types Guide - Specify Safety Glazing Under ANSI Z97.1 and CPSC 16 CFR 1201

Installation Type Typical Configuration Best-Fit Application Installation and Structural Notes Safety Glazing Checkpoint Threshold and Drainage Accessibility Focus
Two-Panel Sliding Door One fixed panel and one operable panel moving horizontally on a track. Common patios, balconies, residential living areas, and moderate-width openings. The rough opening must be square, plumb, and adequately supported. The sill pan, end dams, flashing, and perimeter sealant should be installed according to the project design and local code. Specify safety glazing for the door leaves and for adjacent or fixed glazing located in a code-defined hazardous location. Confirm the product label and documentation identify compliance with the applicable edition of ANSI Z97.1 and CPSC 16 CFR 1201, where required. Use a properly sloped, flashed, and drained sill. Keep weep paths clear after installation. Provide a low, detectable, and securely anchored threshold when required by the adopted accessibility standard.
Three-Panel Sliding Door Typically two operable panels meeting at the center or one operable panel paired with two fixed panels. Wider openings that need more clear passage than a standard two-panel unit. The larger assembly increases weight and track loads. Verify header capacity, jamb fastening, panel clearances, hardware adjustment, and resistance to water and air infiltration. Treat each door lite as safety glazing. Fixed lites that can be mistaken for an opening or are near the walking surface may also require safety glazing under the applicable building code. Coordinate the longer sill with continuous pan flashing, end dams, positive drainage, and compatible exterior sealants. Check the clear opening, operating force, threshold height, and handle location against the adopted accessibility requirements.
Four-Panel Sliding Door Two fixed and two operable panels, or two panels sliding in opposite directions. Large residential and commercial openings requiring a broad view and a wide passage. Requires careful coordination of head, sill, jamb, intermediate mullion, structural loads, glass weight, and panel alignment. Confirm the tested assembly size and configuration before field modification. Safety glazing requirements apply to door panels and may apply to nearby fixed panels. Do not substitute ordinary annealed glass where safety glazing is required. Use a continuous sill drainage strategy and protect the track from construction debris that can obstruct rollers or weep openings. Confirm that at least one required route provides the necessary usable clear width and manageable operating force.
Center-Opening Sliding Door Two operable panels slide away from the center to create a balanced opening. Symmetrical façades, entertainment areas, and openings where access is desired from the center. The meeting-stile design must maintain alignment, weather seals, interlocks, and reliable locking at the center. The head and sill must remain straight across the full span. Specify compliant safety glazing for both operable panels and any adjacent fixed glazing within the applicable hazardous-glazing zones. A level, stable sill is important because two panels converge at the center. Provide drainage without creating a trip hazard. Review the center meeting area for hardware reach range, clear passage, and user pinch-point protection.
Pocket Sliding Door The operable glass panel slides into a concealed wall pocket when open. Projects needing a clear opening without a panel remaining beside the doorway. Coordinate pocket framing, waterproofing, structural support, service access, track maintenance, and required fire or acoustic assemblies. Avoid field alterations that reduce panel clearance or compromise the wall system. The sliding door lite requires safety glazing where applicable. Any fixed glazing near the opening should be evaluated separately under the adopted code. Prevent concealed wall drainage or flashing components from being blocked by the pocket framing or finish materials. Ensure the open and closed positions do not reduce the required accessible route or usable door controls.
Fixed Panel with Sliding Door A large non-operable glass panel is installed beside one sliding door panel. Expanding daylight and view while retaining a conventional sliding-door operating pattern. The fixed panel needs independent support, stable glazing blocks or setting methods, and secure perimeter connections. Confirm that the framing accommodates the combined glass and wind loads. The fixed panel may require safety glazing if it is adjacent to a door, extends close to the walking surface, or is otherwise located in a hazardous area defined by the applicable code. Provide compatible drainage and flashing beneath both the fixed panel and the sliding track; do not rely solely on interior sealant. Keep the active leaf and clear opening unobstructed; mark large fixed areas when visibility is a concern.
Corner Sliding Door Sliding panels meet at or move away from a building corner, often with minimal visible corner framing. High-visibility indoor-outdoor spaces and architectural corner openings. Requires coordinated structural engineering for the corner, roof or header loads, lateral movement, water management, and two intersecting track systems. Installation tolerances are especially important. Specify safety glazing for all door lites and evaluate corner-adjacent fixed glazing for hazardous-location requirements. Verify safety-glazing markings remain visible after installation where required. Use continuous, coordinated sill flashing around the corner and maintain drainage at both track directions. Verify route continuity and ensure the corner arrangement does not create an abrupt threshold or inaccessible transition.
Multi-Track Sliding Door Multiple panels stack or pass on parallel tracks to create a large opening. Wide commercial, hospitality, and high-end residential openings with substantial wall spans. Confirm system-specific limits for panel dimensions, glass thickness, wind pressure, structural deflection, roller capacity, interlocks, and installation tolerances. Each panel forming a door or hazardous adjacent area should use safety glazing where required. Documentation should identify the glazing type and applicable test or certification basis. Provide a durable, cleanable sill with positive drainage. Multiple tracks require careful debris control and maintenance access. Check the operating force and clear opening of the designated accessible leaf rather than assuming the full system opening is accessible.
Safety-glazing specification note: ANSI Z97.1 is a widely referenced safety-glazing performance standard, while CPSC 16 CFR 1201 establishes federal safety requirements for architectural glazing products covered by the regulation. Confirm the applicable edition, product scope, labeling, and installation requirements with the project specifications and the authority having jurisdiction. Building-code requirements may also identify hazardous locations beyond the door leaf itself.

Verify Flashing, Drainage, Air Leakage ≤0.3 cfm/ft², and Operation

A sliding glass door installation is not proven by a clean frame alone. On site, verify the sill, flashing, drainage path, air leakage, and operation together. A level threshold should support the frame without twisting it. Small distortions can cause large problems later.

Inspect the flashing beneath the sill and at both jambs. It should direct water toward the exterior, not into the wall cavity. Pour a controlled amount of water near the exterior sill, then check the interior face and adjacent wall. Do not rely on sealant as the only drainage strategy. Sealant ages, and installers sometimes miss a short joint. That detail deserves a second look.

Air leakage should be tested against the project requirement, with a target no greater than 0.3 cfm/ft². Use a calibrated fan and record the test pressure, measured area, weather, and result.

A low reading is useful, but it does not excuse poor movement. Open the panel slowly, then quickly. Check for rubbing, uneven gaps, roller noise, lock alignment, and secure latching. The panel should stay stable without excessive force.

Operate the screen separately, because it can hide threshold defects. I have seen doors pass visual inspection yet bind after temperature changes. That is why final checks should happen after shims, fasteners, seals, and interior finishes are complete. Document defects honestly, even minor ones.