How to Install Sliding Patio Doors Step by Step Guide?
Sliding patio door installation is a significant home improvement project that enhances both functionality and aesthetics. According to the National Association of Home Builders, installing sliding doors can yield a return on investment of approximately 70%. This statistic highlights the value of such installations in increasing home equity. Moreover, homeowners often seek to improve energy efficiency and natural light, and sliding doors can effectively address these needs.
However, the process is not without challenges. Precise measurements, appropriate weatherproofing, and proper alignment are crucial for a successful installation. A study by the Home Improvement Research Institute reveals that nearly 30% of homeowners experience difficulties related to measurements and leveling during installations. These common pitfalls serve as a reminder that expertise is vital in ensuring a seamless fit and long-lasting performance.
When approached correctly, sliding patio door installation can significantly improve living spaces. Yet, it is essential to consider potential setbacks. Learning from previous installation mistakes can pave the way for future projects. As you embark on this journey, remember that planning and meticulous attention to detail are essential to achieving outstanding results.
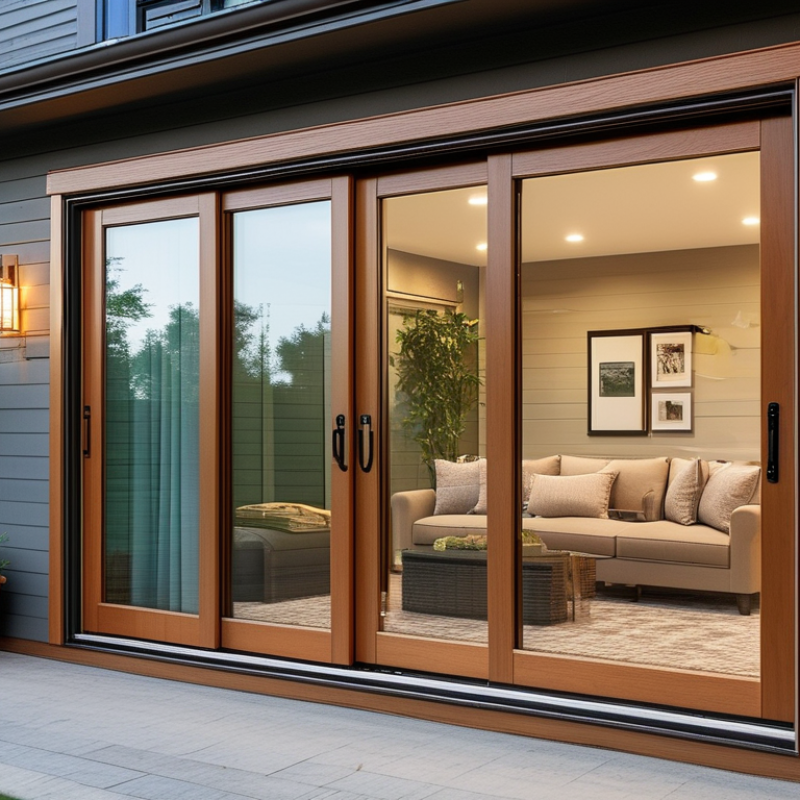
Tools and Materials Needed for Sliding Patio Door Installation
When installing sliding patio doors, having the right tools and materials is crucial for success. Research indicates that proper preparation can reduce installation time by up to 30%. Essential tools include a tape measure, level, and a drill. Ensure you have an impact driver for securing screws effectively. A utility knife is necessary for trimming excess materials. Safety goggles are vital; don’t overlook safety during installation.
Materials should be high-quality to ensure longevity. You'll need a sliding patio door unit, weatherstripping tape, and shims for leveling. According to industry reports, using premium seals can enhance energy efficiency by 20%. Proper insulation is key in maintaining a comfortable indoor climate. It's important to check your local building codes, as they can affect the materials required. In some areas, additional framing materials might be necessary, which could complicate the installation if not considered.
While gathering tools, mistakes happen. Missing a level can lead to an uneven installation. Inadequate weatherproofing can lead to drafts, causing discomfort and energy loss. A thorough checklist can help mitigate these issues. Professionals often recommend double-checking measurements before cutting. Small oversights can lead to costly repairs down the line.
Preparing the Opening for the Sliding Patio Door
Preparing for the installation of sliding patio doors starts with a well-thought-out opening. Measure the space accurately. You’ll need the door dimensions and some extra room for adjustments. Skipping this step can lead to a poor fit. Make sure the floor and ceiling are level. Uneven surfaces can cause issues later in the installation process.
Next, clear the opening of any debris. This might seem trivial, but dirt can interfere with the door’s functioning. If there’s an existing frame, remove it carefully. Ensure there are no protruding nails or sharp edges. Safety is crucial here. Did you check for electrical wires or plumbing in the wall? It’s easy to overlook these details but can be costly if damaged.
Consider weatherproofing your opening as well. Even minor gaps can allow drafts and moisture in. Seal around the edges as needed. Remember, a well-prepared opening is essential for a seamless installation. For a professional look, strive for construction clarity. It’s easy to overlook these aspects in a hurry. Take your time and ensure everything is in place before moving on to the installation itself.
Step-by-Step Installation of the Sliding Patio Door Frame
Installing sliding patio doors requires precision and attention to detail. When focusing on the door frame, it is essential to ensure a level and sturdy base. Approximately 90% of installation issues arise from an improper frame setup. Begin by measuring the opening accurately, considering adjustments for shimming. A study from the National Association of Home Builders shows that a well-installed frame contributes significantly to energy efficiency, preventing unwelcome drafts that can increase heating costs.
After securing the frame in place, check for squareness to avoid alignment issues later. Use a square tool to confirm that each corner is exactly 90 degrees. This step is often overlooked but is crucial; failure to square the frame can lead to functional problems over time. Experts recommend using a level during this stage to fine-tune your adjustments meticulously.
Before finalizing the installation, take a moment to reflect on your workspace. Clutter can lead to mistakes and rework. Ensure that your tools are organized to enhance efficiency. Remember, even seasoned installers can overlook small details, impacting the overall project. It can be beneficial to double-check measurements and alignment at every stage. Adhering to these practices can lead to a smoother installation experience and lasting results.
Installing the Sliding Door Panels: Tips and Techniques
Installing sliding door panels can be a rewarding but challenging task. Start by
measuring the door frame accurately. Ensure the measurements are correct to avoid complications. A tape measure is essential for this step.
You will also need shims for leveling.
Next, prepare the sliding door panels for installation. Lay them on a soft surface to avoid scratches. Align the rollers with the track before lifting.
This requires a careful approach. Ask a friend to help with lifting. It's easier and safer with two people. Test the door's movement before securing it completely.
While installing, keep an eye on alignment. Misaligned panels can stick or fall off the track.
If this happens, you'll need to readjust the panels. Take your time; rushing can lead to mistakes. Don’t forget to seal gaps with weather stripping.
It improves insulation and energy efficiency. Remember, practice makes perfect. Each installation teaches new lessons.
Final Adjustments and Securing the Sliding Patio Door System
When installing sliding patio doors, the final adjustments are crucial for a smooth operation. Start by checking the alignment. The door should glide effortlessly along its track. If it sticks or requires excessive force, adjustments are necessary. Use the adjustment screws located on the roller mechanism. These help to raise or lower the door. Making small adjustments can make a significant difference.
After aligning the doors, secure the system properly. Ensure that all screws are tight and installed according to the manufacturer’s specifications. This prevents future warping or sagging. Double-check the locking mechanism as well. A properly functioning lock is essential for security. Finally, consider applying a lubricant to the tracks for smoother operation.
Tips: Always measure twice before drilling. This helps to prevent misalignment. If unsure, consult an expert. Installing doors requires patience, and every adjustment counts. Remember that imperfections can arise during the process. You may need to revisit your adjustments multiple times. Each small tweak contributes to a better installation.
Related Posts
-
Maximizing Energy Efficiency: How Aluminium Sliding Doors Can Cut Your Utility Bills by 30%
-

Essential Guide to Sliding Patio Door Installation: Tips and Steps for Success
-

10 Essential Tips for Sliding Door Replacement You Need to Know?
-

10 Essential Tips for Choosing the Right Exterior Patio Doors?
-
Expert Guide to Sliding Glass Door Installation for Energy Efficiency in Your Home
-
5 Essential Tips for Choosing the Perfect Patio Doors in Canada: Boosting Home Value by 10%!